































How to Set Up a Warehouse: 4 Steps (with Checklist)



US developers delivered 119 million square feet of new warehouse space in the first half of 2026, with 305 million square feet still under construction, according to Cushman & Wakefield. Each of those buildings starts as an empty shell, and how to set up a warehouse comes down to four steps: develop a warehouse strategy, select warehouse equipment, choose a warehouse layout built around product flow and finalize the setup with location labels, signage and safety checks.
This guide explains each step, what it costs, how long it takes and which mistakes to avoid, and it ends with a warehouse setup checklist you can download.
The same four steps apply to a renovation or a rework of an existing building. If you are starting from a blank drawing, our guide to how to design a warehouse floor plan covers the drawing itself; this article covers everything around it.
Before getting to work on the details of your warehouse layout and operation, it’s important to start with clearly defined goals and business objectives. Since each warehouse plays an important role within a larger supply chain, you’ll want to review the expected product types, customer base and suppliers that will create the scope of work at each facility.
Those decisions define the warehouse operations the building has to support: receiving, put-away, storage, picking, packing and shipping.
Additional requirements and goals that may be important for a warehouse include:
In many cases, a business plan may already have been developed to justify the purchase or lease of the warehouse space. Defining clear goals and a vision for the facility makes it much easier to make informed decisions later in the process.
Build growth into that plan from day one: US industrial vacancy fell to 6.9% in the second quarter of 2026 and asking rents rose 2.9% year over year, according to Cushman & Wakefield, so the space you leave open now is cheaper than the space you lease later.
The research side of the market expects that squeeze to continue. As Jason Price, Head of Logistics and Industrial Research for the Americas at Cushman & Wakefield, put it in the firm’s Q2 2026 report:
“With new supply remaining relatively disciplined, we expect vacancy to continue trending lower through the balance of the year.”
– Jason Price, Head of Logistics and Industrial Research, Americas, Cushman & Wakefield. Press release, July 2026.
For a warehouse strategy, that means the “open space” line in your layout is a real asset, not a rounding error.
Every warehouse equipment setup list covers the same five groups: storage equipment, material handling equipment, dock equipment, workstation equipment and data capture equipment. Select equipment alongside the layout, because every rack, conveyor and packing bench needs a footprint and a travel lane on the plan.
Two facts should shape the order you buy in. Large or custom pallet racking orders carry manufacturing lead times of 6 to 12 weeks, according to Speedrack West, so racking is usually the long pole in the schedule and should be ordered first.
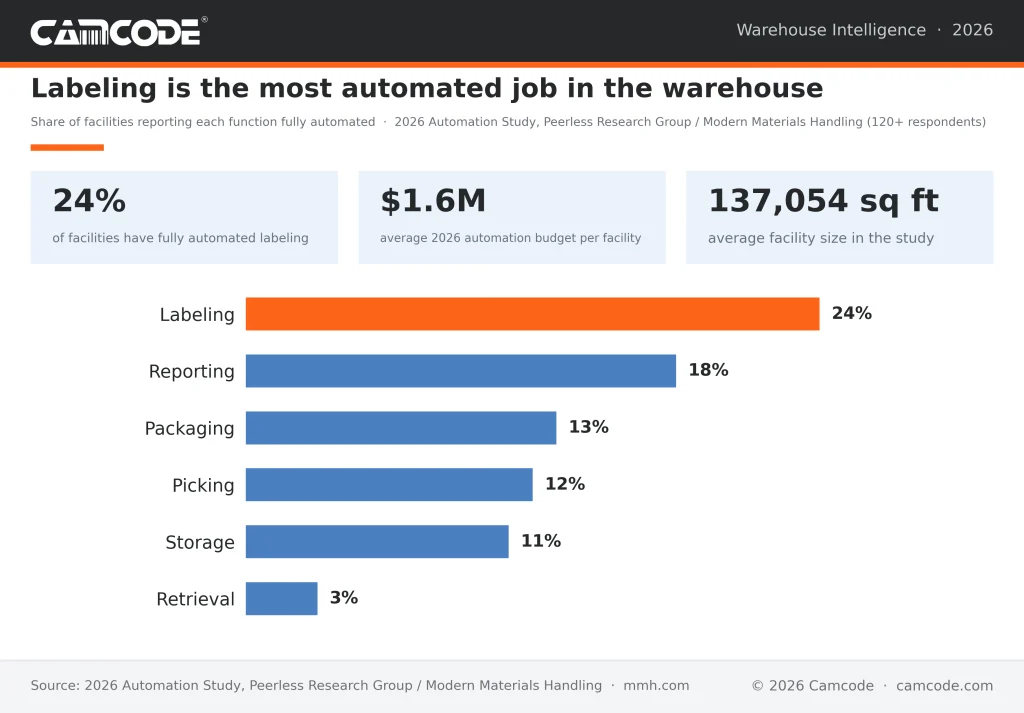
And labeling is the most automated function in US warehouses: 24% of facilities report it fully automated in the 2026 Peerless Research Group automation study, ahead of packaging at 13% and picking at 12%, so plan the labeling system together with the WMS rather than after it.
Automation is now part of most equipment lists, not an add-on. Norm Saenz, Partner and Managing Director at supply chain engineering firm St. Onge Company, described the 2026 pattern to Modern Materials Handling:
“We are experiencing most of our distribution and manufacturing design projects including the evaluation of AMRs and AGVs.”
– Norm Saenz, Partner and Managing Director, St. Onge Company. Modern Materials Handling 2026 Outlook Survey, 2026.
If mobile robots are on your list, decide before the racking is ordered: AMRs need consistent aisle widths, floor tolerances and scannable location markers to navigate.
The layout of a warehouse is one of the most important decisions that can be made to ensure a smooth and efficient operation. Since each building will have a unique blueprint, the chosen layout must take into account facility measurements and obstructions such as sprinklers and HVAC equipment. A warehouse layout can be broken down into six major areas:
When designing your warehouse layout, the central reference point should be the expected product flow through the building. One of the best ways to validate your layout assumptions is to place tape on the warehouse floor to designate the areas above. Then a walkthrough can be performed, and it may even be possible to bring forklifts or other equipment into the space to test the flow of work activities.
Most warehouses use one of four flow patterns:
Whatever the shape, the warehouse racking layout inside it should put fast-moving SKUs closest to packing, because order picking is the biggest labor line in the building.
The academic work on aisle design backs that up. Kevin Gue, Duthie Chair of Engineering Logistics and Director of the Logistics and Distribution Institute at the University of Louisville, summarizes the Flying-V result this way:
“If travel begins and ends at the bottom of the V, the expected distance to retrieve a single pallet is 10% less in this warehouse than in an equivalent traditional design.”
– Kevin R. Gue, Duthie Chair of Engineering Logistics, University of Louisville. “Aisle Design for Warehouses”, research summary.
A 10% cut in travel matters because travel is where the money goes. In the most cited review of order picking research, René de Koster of Rotterdam School of Management, Erasmus University, and his co-authors put it plainly:
“The cost of order picking is estimated to be as much as 55% of the total warehouse operating expense”.
– René de Koster, Tho Le-Duc and Kees Jan Roodbergen, European Journal of Operational Research, 2007.
For a small ecommerce warehouse, the best warehouse layout is U-shaped, with receiving and shipping on one wall, fast-moving SKUs in bin shelving next to packing and pallet racking for replenishment stock behind it.
Labeling every location and marking the floor is the step that turns a racked building into a warehouse the WMS can run. Once the layout is fixed, select the barcode labels, warehouse signage and safety notifications that will go up before the first delivery.
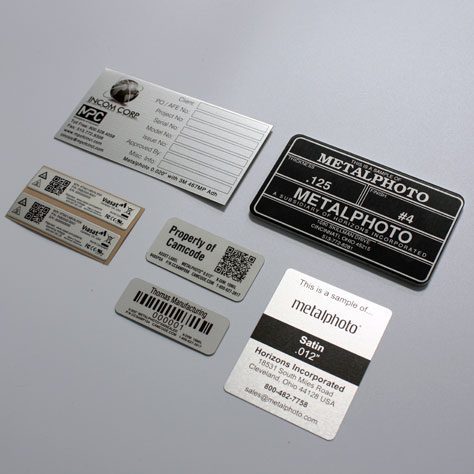
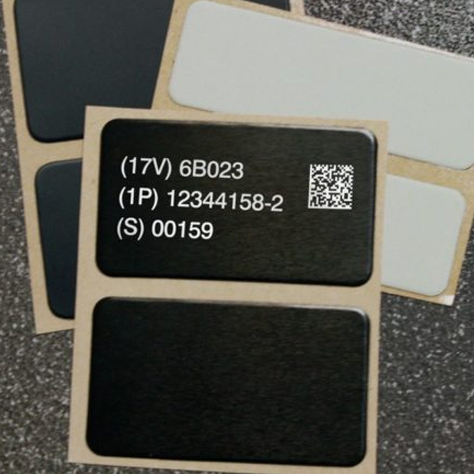
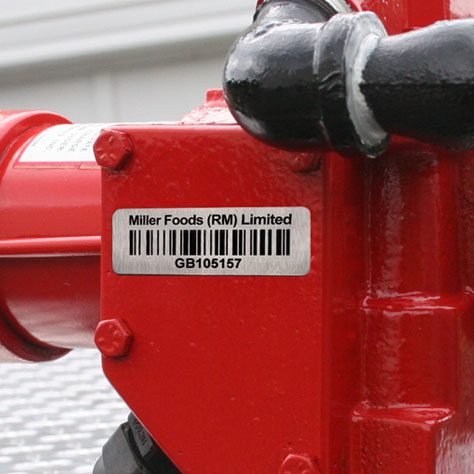
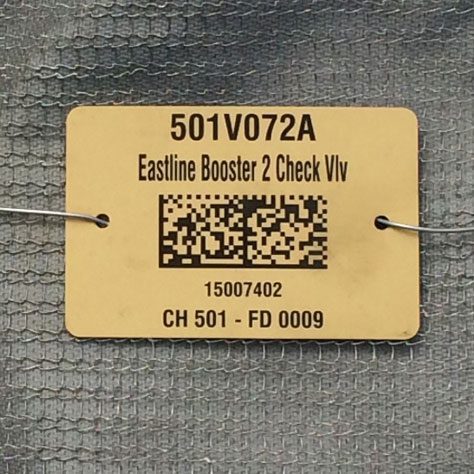
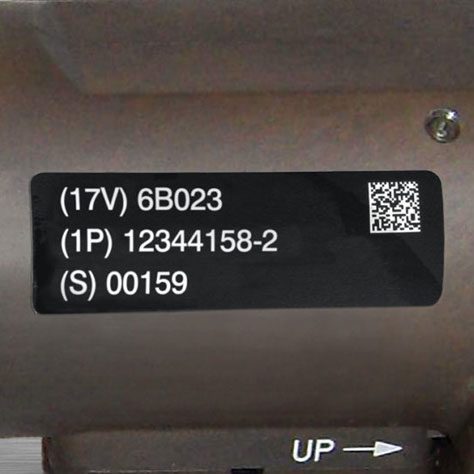
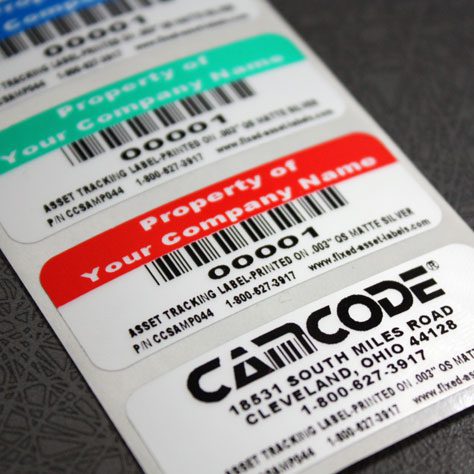
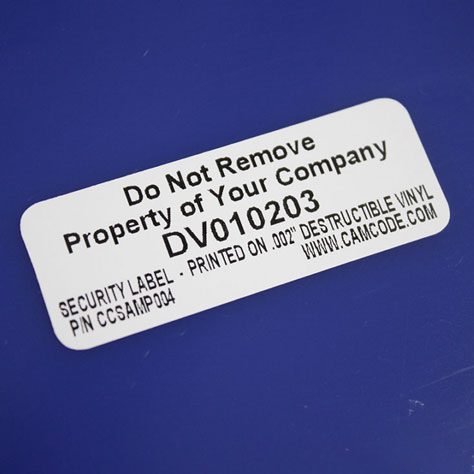
There are a variety of warehouse barcode labels and signage options to suit every warehouse application, including warehouse floor labels, hanging labels, rack labels, cold storage labels, pallet and container labels and custom warehouse signs and outdoor signs and labels. Order them against the location list from the naming convention below so every label matches a WMS record on day one, and review the regulations that apply to your building before anything goes on the wall.
Set the warehouse location naming convention before the WMS goes live, because the WMS location master and every rack label, floor label and aisle sign are printed from the same labeling standard. The standard warehouse location format is aisle-bay-level-position, so 04-12-C-2 means aisle 4, bay 12, level C, position 2, with an optional zone prefix when the WMS routes work by area.
Here are some common rules keep the convention usable for years.
Our guide on how to label warehouse racking covers placement and materials, and the step-by-step guide to a warehouse barcode system covers the symbology and software side. Print a test set, scan it with the actual devices and confirm the WMS accepts the format before you order the full run.
Before opening a new warehouse, meet the OSHA warehouse safety requirements in 29 CFR 1910.176: safe clearances for aisles, docks and doorways where forklifts run, marked permanent aisles and passageways and stable, height-limited storage. OSHA recommends aisles at least 3 feet wider than the largest equipment, or a minimum of 4 feet, and 1910.178 requires forklift operators to be trained and evaluated before they drive.
Build those rules into the layout rather than retrofitting them. Mark aisles and pedestrian walkways with floor tape or paint, post capacity plaques on every rack bay, hang exit and fire equipment signs before stock arrives and schedule operator training before the first delivery.
Section 1910.176(b) requires stored material to be stacked, blocked, interlocked and limited in height so it is stable, which in practice means the rack capacity plaques are enforced, not decorative.
Avoid these ecommerce warehouse layout mistakes when setting up a warehouse: undersized receiving, slotting by category instead of velocity, racking installed before aisle widths are checked, location labels ordered before the WMS naming convention is final, skipping the taped-floor walkthrough and leaving no open space for returns or growth.
The answer splits into the building and the fit-out.
Building a standard dry warehouse runs about $20 to $60 per square foot in 2026, while cold storage runs $241 to $344 per square foot, according to Red Stag Fulfillment’s construction cost guide. Line items inside that figure include loading docks at $6,000 to $11,000 each, fire suppression at $1 to $4 per square foot and lighting at $3.20 to $4 per square foot. If you lease instead, national industrial asking rents rose 2.9% year over year in the second quarter of 2026, per Cushman & Wakefield.
The fit-out budget covers racking, material handling equipment, a WMS, labels and signage and any automation. Facilities in the 2026 Peerless Research Group study, which average 137,054 square feet, planned to spend an average of $1.6 million on automation in 2026. Labels and signs are a small line, but they are the one piece of the setup that every scanner, picker and forklift touches on every trip, so buy them for the life of the racking rather than the first year.
For the racking alone, plan on 8 to 12 weeks when permits are required, according to Speedrack West, which breaks the work into 1 to 2 weeks of evaluation, 2 to 3 weeks of seismic calculations and CAD layouts, 3 to 8 weeks of permitting, 2 to 12 weeks of manufacturing depending on order size and 2 to 4 weeks of installation. Matco Material Handling reports that the installation itself takes 1 to 3 weeks on average, with small projects finishing in 5 to 7 days.
Build the rest of the warehouse setup timeline around those dates. Order the WMS, scanners and location labels while the racking is being manufactured, so labels are ready to install the day the last upright is anchored, and reserve the final week for inspections, floor marking and a full walkthrough with the equipment in place.
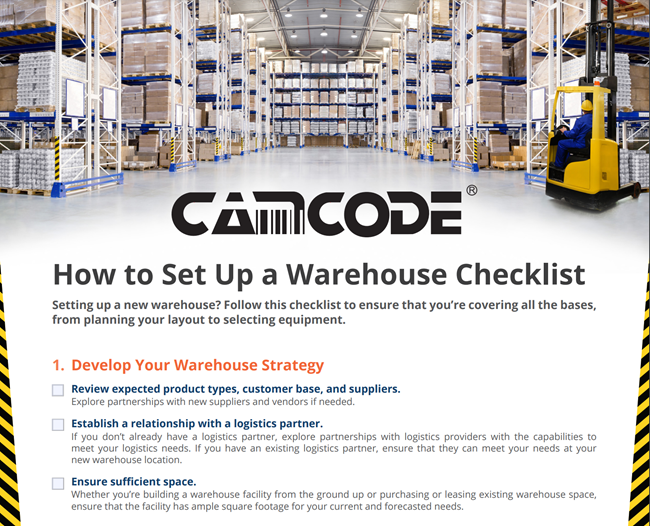
Use our warehouse setup checklist two ways. Work through the interactive version below as you set up: check off items under each of the four steps, watch the progress bar fill and click Copy open items to drop whatever is left into your project plan. Progress lives on this page and resets when you leave, so when you want a copy for the floor or for your racking, WMS and labeling vendors, download the printable PDF underneath.
Interactive checklist
Work through the four setup steps in order. Progress is tracked on this page only and resets on reload. Use “Copy open items” to paste what is left into your project plan.
Need a copy for the floor? DOWNLOAD: How to Set Up a Warehouse Checklist
The best layout for a warehouse is the one that matches its product flow.
U-shaped layouts work for most small and mid-sized warehouses because receiving and shipping share one wall and one set of docks. I-shaped layouts suit high-volume distribution centers that need receiving and shipping separated. L-shaped layouts fit irregular buildings.
Whatever the shape, slot fast-moving SKUs closest to packing and shipping.
The four types of warehouse layout are:
U-shaped and I-shaped layouts differ in where receiving and shipping sit. L-shaped layouts bend the flow to fit the building. Fishbone layouts add diagonal cross-aisles to cut travel distance for pallet retrieval.
The 5S rule in warehousing is a five-step organization method from lean manufacturing:
In a new warehouse, 5S is easiest to apply during setup, when every location is being labeled for the first time.
For a small ecommerce warehouse, the best warehouse layout is U-shaped, with receiving and shipping on one wall, fast-moving SKUs in bin shelving next to packing and pallet racking for replenishment stock behind it. Label every bin and shelf with a scannable location barcode so a simple WMS or inventory app can direct picks.
Our sales engineers are experts in automatic asset tracking, tagging and identification, and can answer all your questions. Get in touch now.
Lets Talk ›Enter your information and get a free checklist of the top questions to answer and tips to plan a successful asset tagging project for any warehouse management system implementation.